Chapter 2 — Installation
thClaws ships as two peer binaries: thclaws (desktop GUI + CLI, the
primary entrypoint) and thclaws-cli (CLI only, for headless / SSH /
scripted use). Both are built from the same engine — pick whichever
matches how you launch. Download the build that matches your OS and
CPU from:
https://thclaws.ai/downloads.html
Builds are provided for:
| OS | Architectures |
|---|---|
| macOS | Apple Silicon (arm64), Intel (x86_64) |
| Linux | x86_64, arm64 |
| Windows | x86_64, arm64 |
Pick the right macOS build:
- Apple Silicon (M1/M2/M3/M4/M5): use the
arm64build. Thex86_64build does run via Rosetta 2, but the nativearm64build is faster and uses less memory. - Intel Macs: use the
x86_64build. Thearm64build won’t run on Intel.
System requirements
thClaws itself is small — the download is ~17 MB per single-arch
tarball (gzipped), expanding to ~25 MB for the thclaws-cli binary
or ~40 MB for the GUI build (thclaws). At runtime it uses
~250–400 MB of RAM, most of it the embedded webview supplied by the
operating system (WKWebView on macOS, WebView2 on Windows,
WebKit2GTK on Linux).
| Minimum | Recommended | |
|---|---|---|
| OS | macOS 12+ · Windows 10+ · Linux with webkit2gtk-4.1 (Ubuntu 22.04+, Fedora 38+) | latest stable |
| CPU | any 64-bit x86_64 or ARM64 from the past ~10 years | modern multi-core |
| RAM | 2 GB free | 8 GB total |
| Disk | ~50 MB | SSD |
| Network | required for cloud providers (Anthropic / OpenAI / Gemini / OpenRouter / Z.ai / DashScope); optional if you only use local Ollama or LMStudio | broadband |
If you’re using thClaws purely against cloud providers, any laptop bought in the past few years works comfortably. The heavy spec floor for local model use is the model runtime (Ollama / LMStudio), not thClaws — see Optional: Ollama for fully local use below for those numbers.
Prefer to build from source? thClaws is open source — clone github.com/thClaws/thClaws and run
cargo build --release --features gui(Rust 1.85+, Node.js 20+, pnpm 9+). The downloads below are the recommended install route for most users.
Install
macOS
Recommended — universal .dmg installer
- Download
thclaws-<version>-universal-apple-darwin.dmg. One file covers both Apple Silicon and Intel — no architecture pick needed. - Double-click the
.dmg, then drag thClaws into the Applications folder when the installer window appears. - Open thClaws from Launchpad or Spotlight. On first launch, Gatekeeper may say “thClaws can’t be opened because Apple cannot check it for malicious software” — click OK, then in System Settings → Privacy & Security, scroll to the message about thClaws and click Open Anyway. macOS will remember the choice.
- The desktop app installs a
thclawsandthclaws-cliCLI shim on$PATHon first launch (via the Install CLI tools menu item if it doesn’t happen automatically). After that, boththclawsandthclaws-cliwork from any terminal.
That’s it — no PATH editing, no xattr cleanup.
Manual install (fallback) — for headless / SSH / scripted boxes where the GUI installer can't run.
1. Download the architecture-specific tarball: `thclaws-Linux
- Download
thclaws-<version>-<arch>-unknown-linux-gnu.tar.gz. - Extract and install:
bash
   $ tar -xzf ~/Downloads/thclaws-*-linux-gnu.tar.gz
   $ mkdir -p ~/.local/bin
   $ install -m 755 thclaws thclaws-cli ~/.local/bin/
- Ensure
~/.local/binis on yourPATH(most distros already do this via~/.profile; if not, add theexport PATH=...line from the macOS section).
Windows
Recommended — .msi installer
- Download the matching
.msi: -thclaws-<version>-x86_64-pc-windows-msvc.msifor Intel / AMD Windows (the typical case). -thclaws-<version>-aarch64-pc-windows-msvc.msifor Windows on ARM (Surface Pro X, Snapdragon X laptops, etc.). - Double-click the
.msi. The installer is per-user (no admin prompt), drops the binaries into%LOCALAPPDATA%\Programs\thclaws, adds that directory to your userPATH, and creates a Start menu entry. - Open a fresh PowerShell or terminal window —
thclawsandthclaws-cliare onPATH. Launch the GUI from Start.
Windows SmartScreen may say “Windows protected your PC” on first run because the binary isn’t signed yet — click More info → Run anyway.
That’s it — no PATH editing, no environment-variables dialog.
Manual install (fallback) — if you'd rather skip the installer (e.g. portable install on a USB stick, automation pipeline, locked-down policy that blocks .msi).
> **What `%LOCALAPPDATA%` means** — it's a Windows environment variable
> that expands to `C:\Users\Run via Docker
For headless servers, CI runners, or “strict environment” deployments
where installing Rust + Node + GTK/WebKit2GTK on the host isn’t an
option, an official image is published on Docker Hub. It bundles the
same thclaws binary, runs --serve mode by default, and reaches the
host’s project folder via a bind mount.
# Pull the image
$ docker pull thclaws/thclaws:latest

# cd into your project, then:
$ docker run --rm -it \
    -v "$(pwd)":/workspace \
    -p 127.0.0.1:8443:8443 \
    thclaws/thclaws:latest
Open http://localhost:8443 in your browser.
Adding API keys — if you’ve already exported them in your shell, they pass through automatically. To inject keys per container, add
--env-file .envto the run line and putANTHROPIC_API_KEY=…,OPENAI_API_KEY=…, etc. in a.envfile next to yourpwd. You can also set keys later from the in-browser settings UI; thClaws writes them to.thclaws/settings.jsoninside the mount, so they persist across container restarts. Note: Docker errors out (open .env: no such file or directory) if you pass--env-file .envand the file doesn’t exist —touch .envfirst or drop the flag. The mounted folder shows up as/workspaceinside the container; thClaws writes session / plan / team / KMS state to./.thclaws/on the host, so everything survives container restarts.
For a long-running setup, a docker-compose.yml is shipped in the
repo:
services:
  thclaws:
    image: thclaws/thclaws:latest
    ports: ["127.0.0.1:8443:8443"]
    volumes:
      - ./:/workspace
      - thclaws-config:/root/.config/thclaws
    env_file: [.env]
    restart: unless-stopped
volumes:
  thclaws-config:
docker compose up -d brings it up; docker compose logs -f thclaws
tails the live output.
Notes:
--servehas no application-level auth in v0.1. Keep the host bind on127.0.0.1and reach it remotely via SSH tunnel (ssh -L 8443:localhost:8443 server), or put your own reverse proxy + auth in front of it.- Tags:
:latest(most recent ship) and:edge(currentmain). Pin a release tag (e.g.:0.9.9) for reproducible deploys. - The image is multi-arch (
linux/amd64+linux/arm64);docker pullpicks the right variant for your host. - API keys come from the
--env-file/env_fileblock, the host shell env passed through Docker, or whatever’s already in the mounted project’s.thclaws/.env. The container has no keychain. - The container runs as root by default so bind-mount writes work
on Linux without UID juggling. Override with
user: "1000:1000"in compose if that matters to you.
The technical manual’s docker.md
covers the image’s build chain, why it carries GTK + WebKit2GTK at
runtime, and the publish workflow.
Optional: Ollama for fully local use
If you want to run entirely against a local model (no cloud API key), install Ollama alongside thClaws:
# macOS
brew install ollama

# Linux (script installer)
curl -fsSL https://ollama.com/install.sh | sh

# Windows
# Download the installer from ollama.com/download
Start the Ollama daemon (ollama serve, or the desktop app) and pull
a model capable enough for agentic work. Small models (Llama 3.2,
Phi-3, etc.) tend to fumble tool-call formatting and multi-step
reasoning; use Gemma 4 26B or larger:
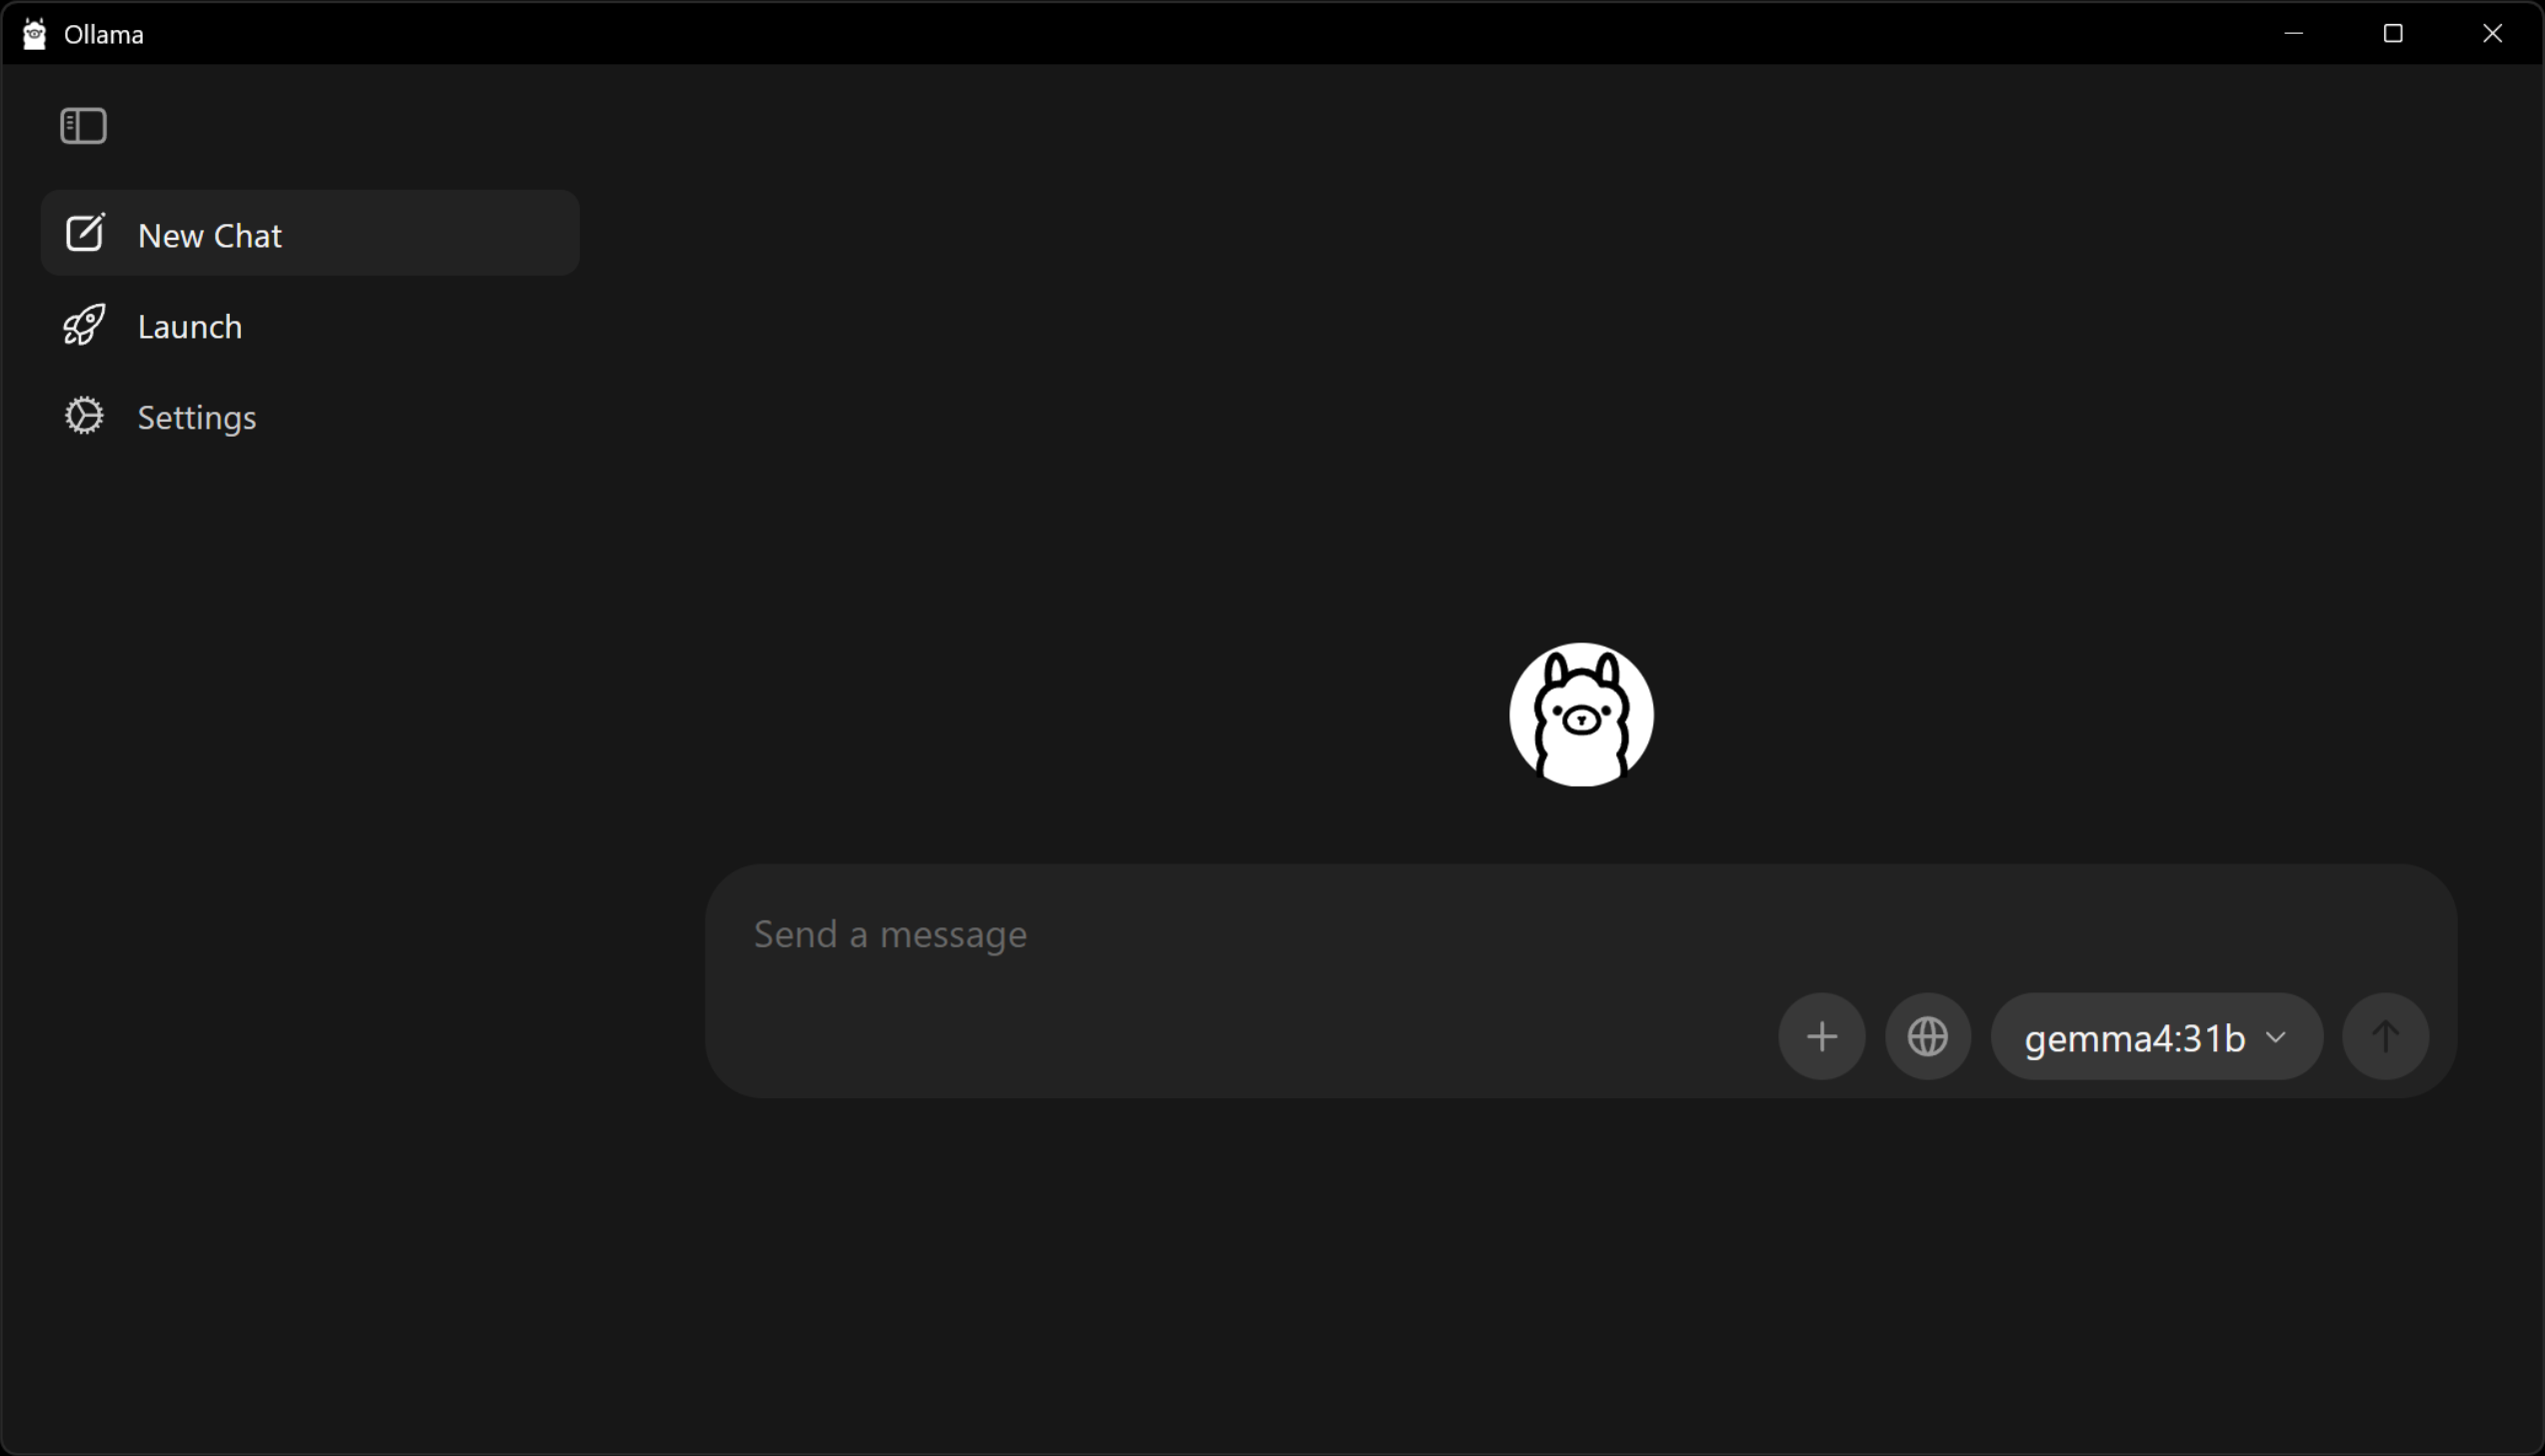
$ ollama pull gemma4:26b         # recommended minimum
$ ollama pull gemma4:31b         # better if your hardware can host it
Rough hardware budget:
| Model | RAM / VRAM needed |
|---|---|
gemma4:26b |
~20 GB |
gemma4:31b |
~24 GB |
Apple Silicon with 32 GB unified memory runs 31B comfortably; 16 GB Macs should stick with 26B. On a dedicated GPU you want that much VRAM, not system RAM.
Switch thClaws to the model with /model ollama/gemma4:26b (or
whichever you pulled). No API key needed. Chapter 6 covers Ollama
options in more detail, including the oa/* Anthropic-compatible
prefix that often gives cleaner tool calls on the same local models.
Verify the install
$ thclaws --version                   # the GUI binary
$ thclaws-cli --version               # the CLI-only binary
$ thclaws --cli                       # interactive REPL
$ thclaws -p "say hi in one word"     # headless one-shot (--print also works)
All four should print or run without error. If -p / --print asks
for a key, you haven’t configured one yet — see Chapter 6.
Updating
Re-download the newer archive from
https://thclaws.ai/downloads.html and repeat the install
step for your platform. Your existing config (API keys, sessions,
plugins, etc.) under ~/.config/thclaws/ (or %APPDATA%\thclaws\ on
Windows) is preserved — only the binaries are replaced.
Uninstalling
# macOS / Linux
$ rm ~/.local/bin/thclaws ~/.local/bin/thclaws-cli

# Windows (PowerShell)
PS> Remove-Item "$env:LOCALAPPDATA\Programs\thclaws" -Recurse
Configuration and saved state live under ~/.config/thclaws/ (or
%APPDATA%\thclaws\ on Windows). Remove those too for a clean
uninstall:
$ rm -rf ~/.config/thclaws
Troubleshooting
| Symptom | Fix |
|---|---|
thclaws: command not found after install |
~/.local/bin not on PATH — add export PATH="$HOME/.local/bin:$PATH" to your shell rc |
| macOS “cannot be opened because the developer cannot be verified” | One-time: xattr -d com.apple.quarantine ~/.local/bin/thclaws ~/.local/bin/thclaws-cli |
Linux: error while loading shared libraries: libssl.so.3 |
Install OpenSSL 3 (sudo apt install libssl3 / sudo dnf install openssl) |
Windows: thclaws not recognised in PowerShell |
Folder not on PATH — re-check the PATH env var and open a fresh terminal window |
| GUI window doesn’t open | Try thclaws --cli first — if that works, the GUI webview is missing system deps (WebKit on Linux / WebView2 on Windows) |
Next
Chapter 3 covers how thClaws scopes itself to your project directory
and the three run modes (GUI, CLI REPL, one-shot -p / --print).
Chapter 6 is where you configure providers and API keys.