Chapter 3 — Working directory & running modes
thClaws is rooted at a directory. Every file tool — read, write, edit,
glob, grep, bash — is restricted to that directory and its descendants.
Pick it carefully: too broad (like /) and you lose the sandbox; too
narrow and the agent can’t see what it needs.
First-launch setup
Opening the desktop GUI for the first time runs you through two
modals in sequence, then drops you into the main window. Subsequent
launches skip the second modal — your keychain / .env choice is
remembered.
1. Pick a working directory
Every launch (not just the first) starts with a modal asking where
thClaws should root itself. It’s pre-filled with your current cwd
and lists the last three directories you picked.
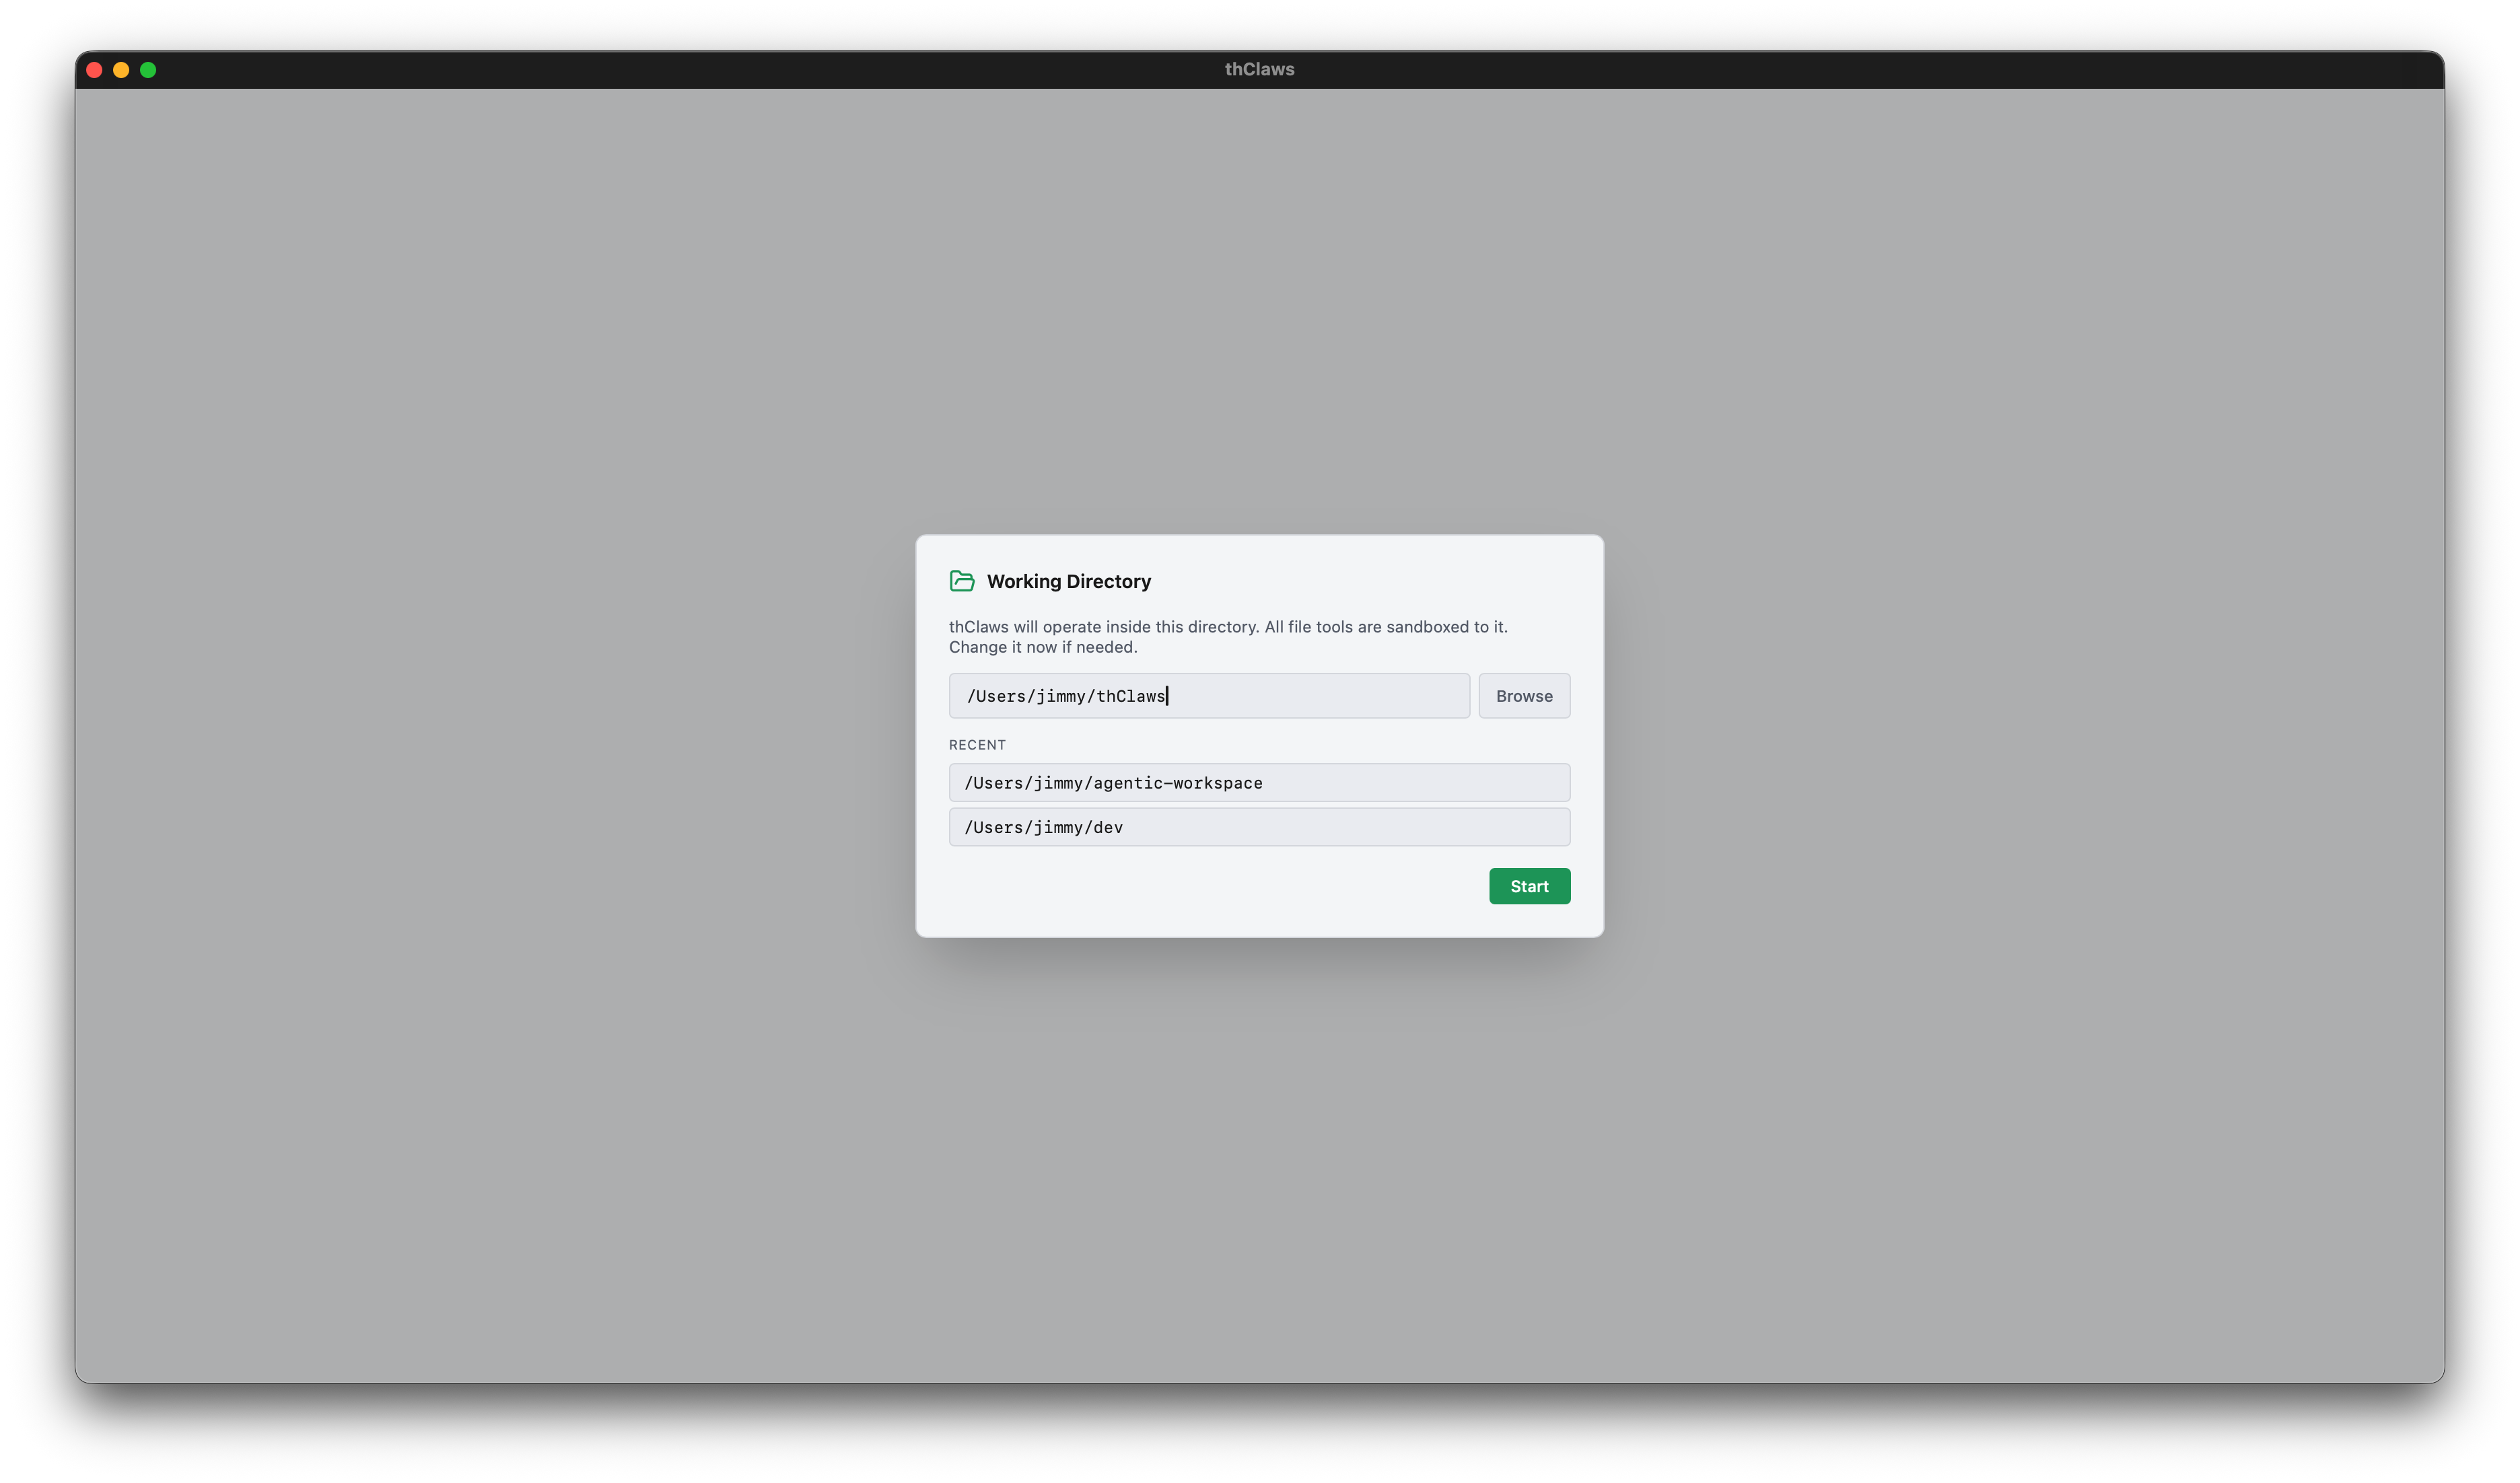
Three ways to pick:
- Type the path into the text field
- Recent directories shortcut list (stored in
~/.config/thclaws/recent_dirs.json) - Browse… opens a native OS folder picker (macOS
osascript, Linuxzenity, Windows PowerShell dialog)
Pick one and click Start; the app sets the sandbox root and spawns the REPL PTY.
2. Where should thClaws store API keys?
First launch only. Right after the working-directory pick, a
second dialog asks how your LLM API keys should be stored. This
dialog runs before thClaws touches the OS keychain at all — pick
.env and no keychain prompt ever fires.
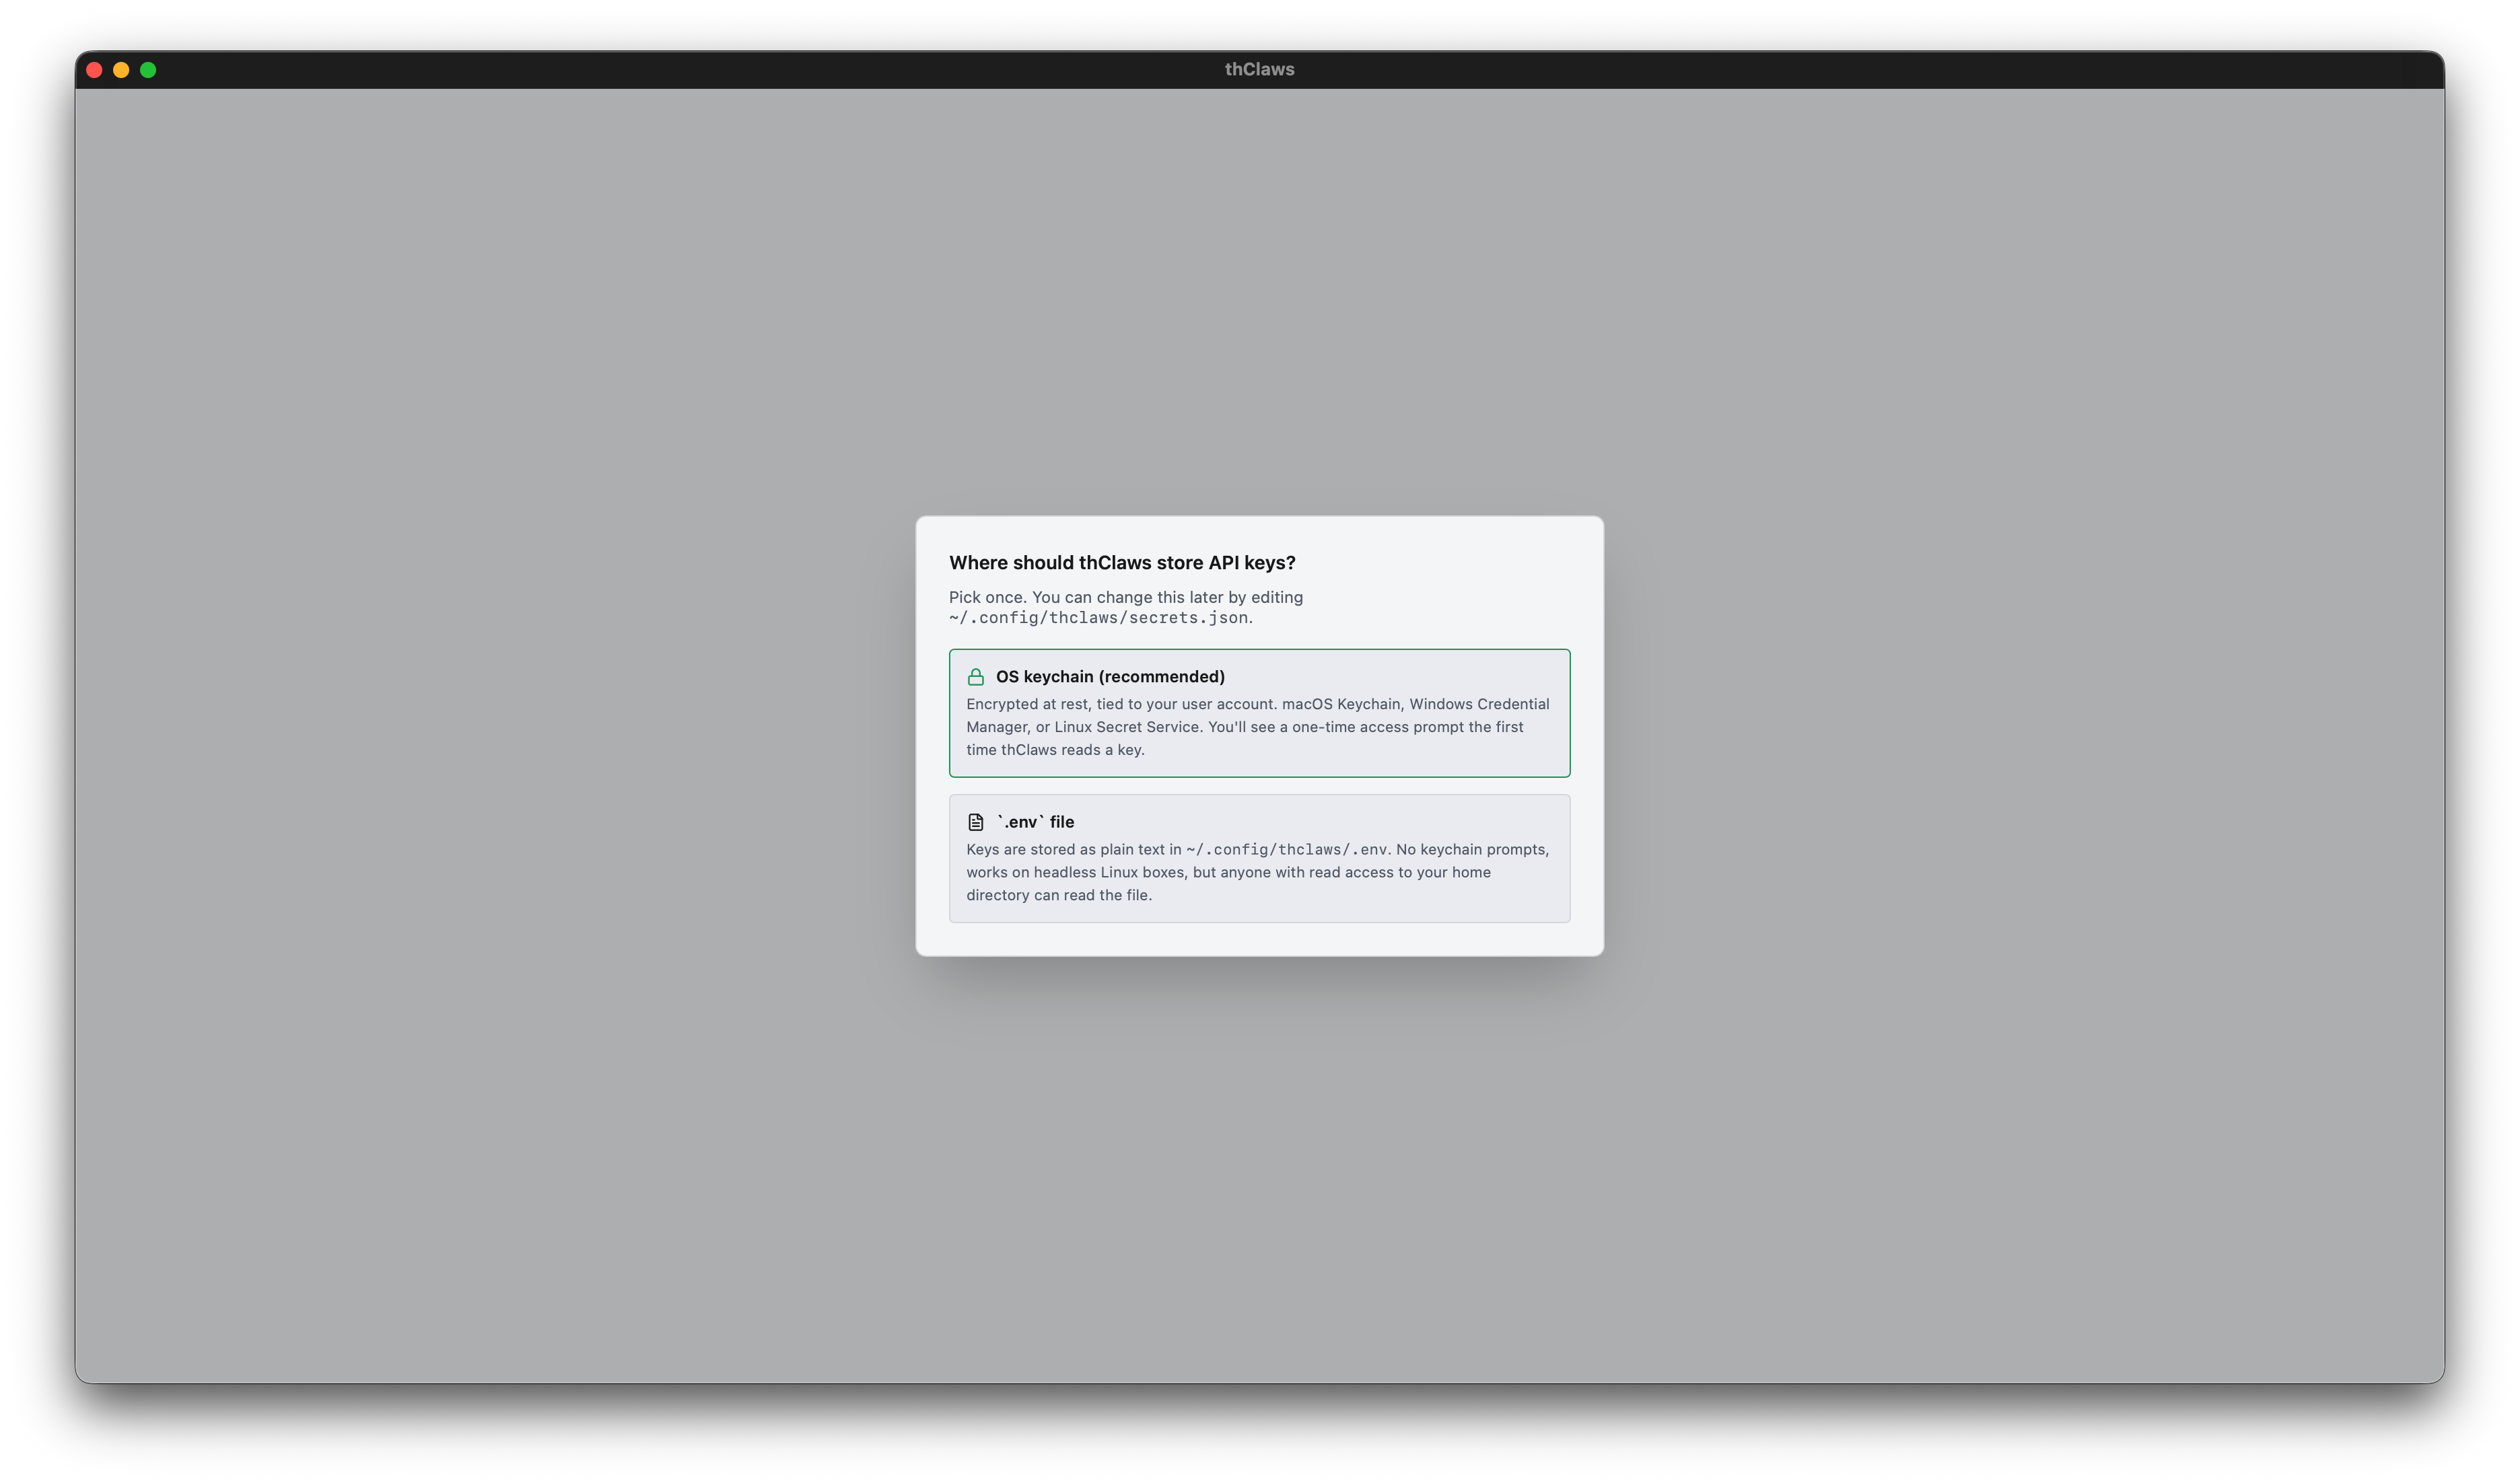
- OS keychain (recommended) — encrypted, tied to your user account (macOS Keychain / Windows Credential Manager / Linux Secret Service). You’ll see a one-time OS access prompt the first time thClaws reads a key; click “Always Allow” and subsequent launches are silent.
.envfile — plain text at~/.config/thclaws/.env. No keychain prompts, works on headless Linux boxes that lack Secret Service, but anyone with read access to your home directory can read the file.
Your choice is saved to ~/.config/thclaws/secrets.json and
respected forever after. You can change your mind later: Settings →
Provider API keys → “Change…” reopens the same chooser. See
chapter 6
for the trade-off in depth.
CLI and -p skip the GUI modals
The CLI and non-interactive modes don’t show modals — the CLI uses
whatever directory you launched it from, and the secrets-backend
choice is read from ~/.config/thclaws/secrets.json (or defaults to
.env if the file doesn’t exist).
cd ~/projects/my-app
thclaws --cli
Running modes
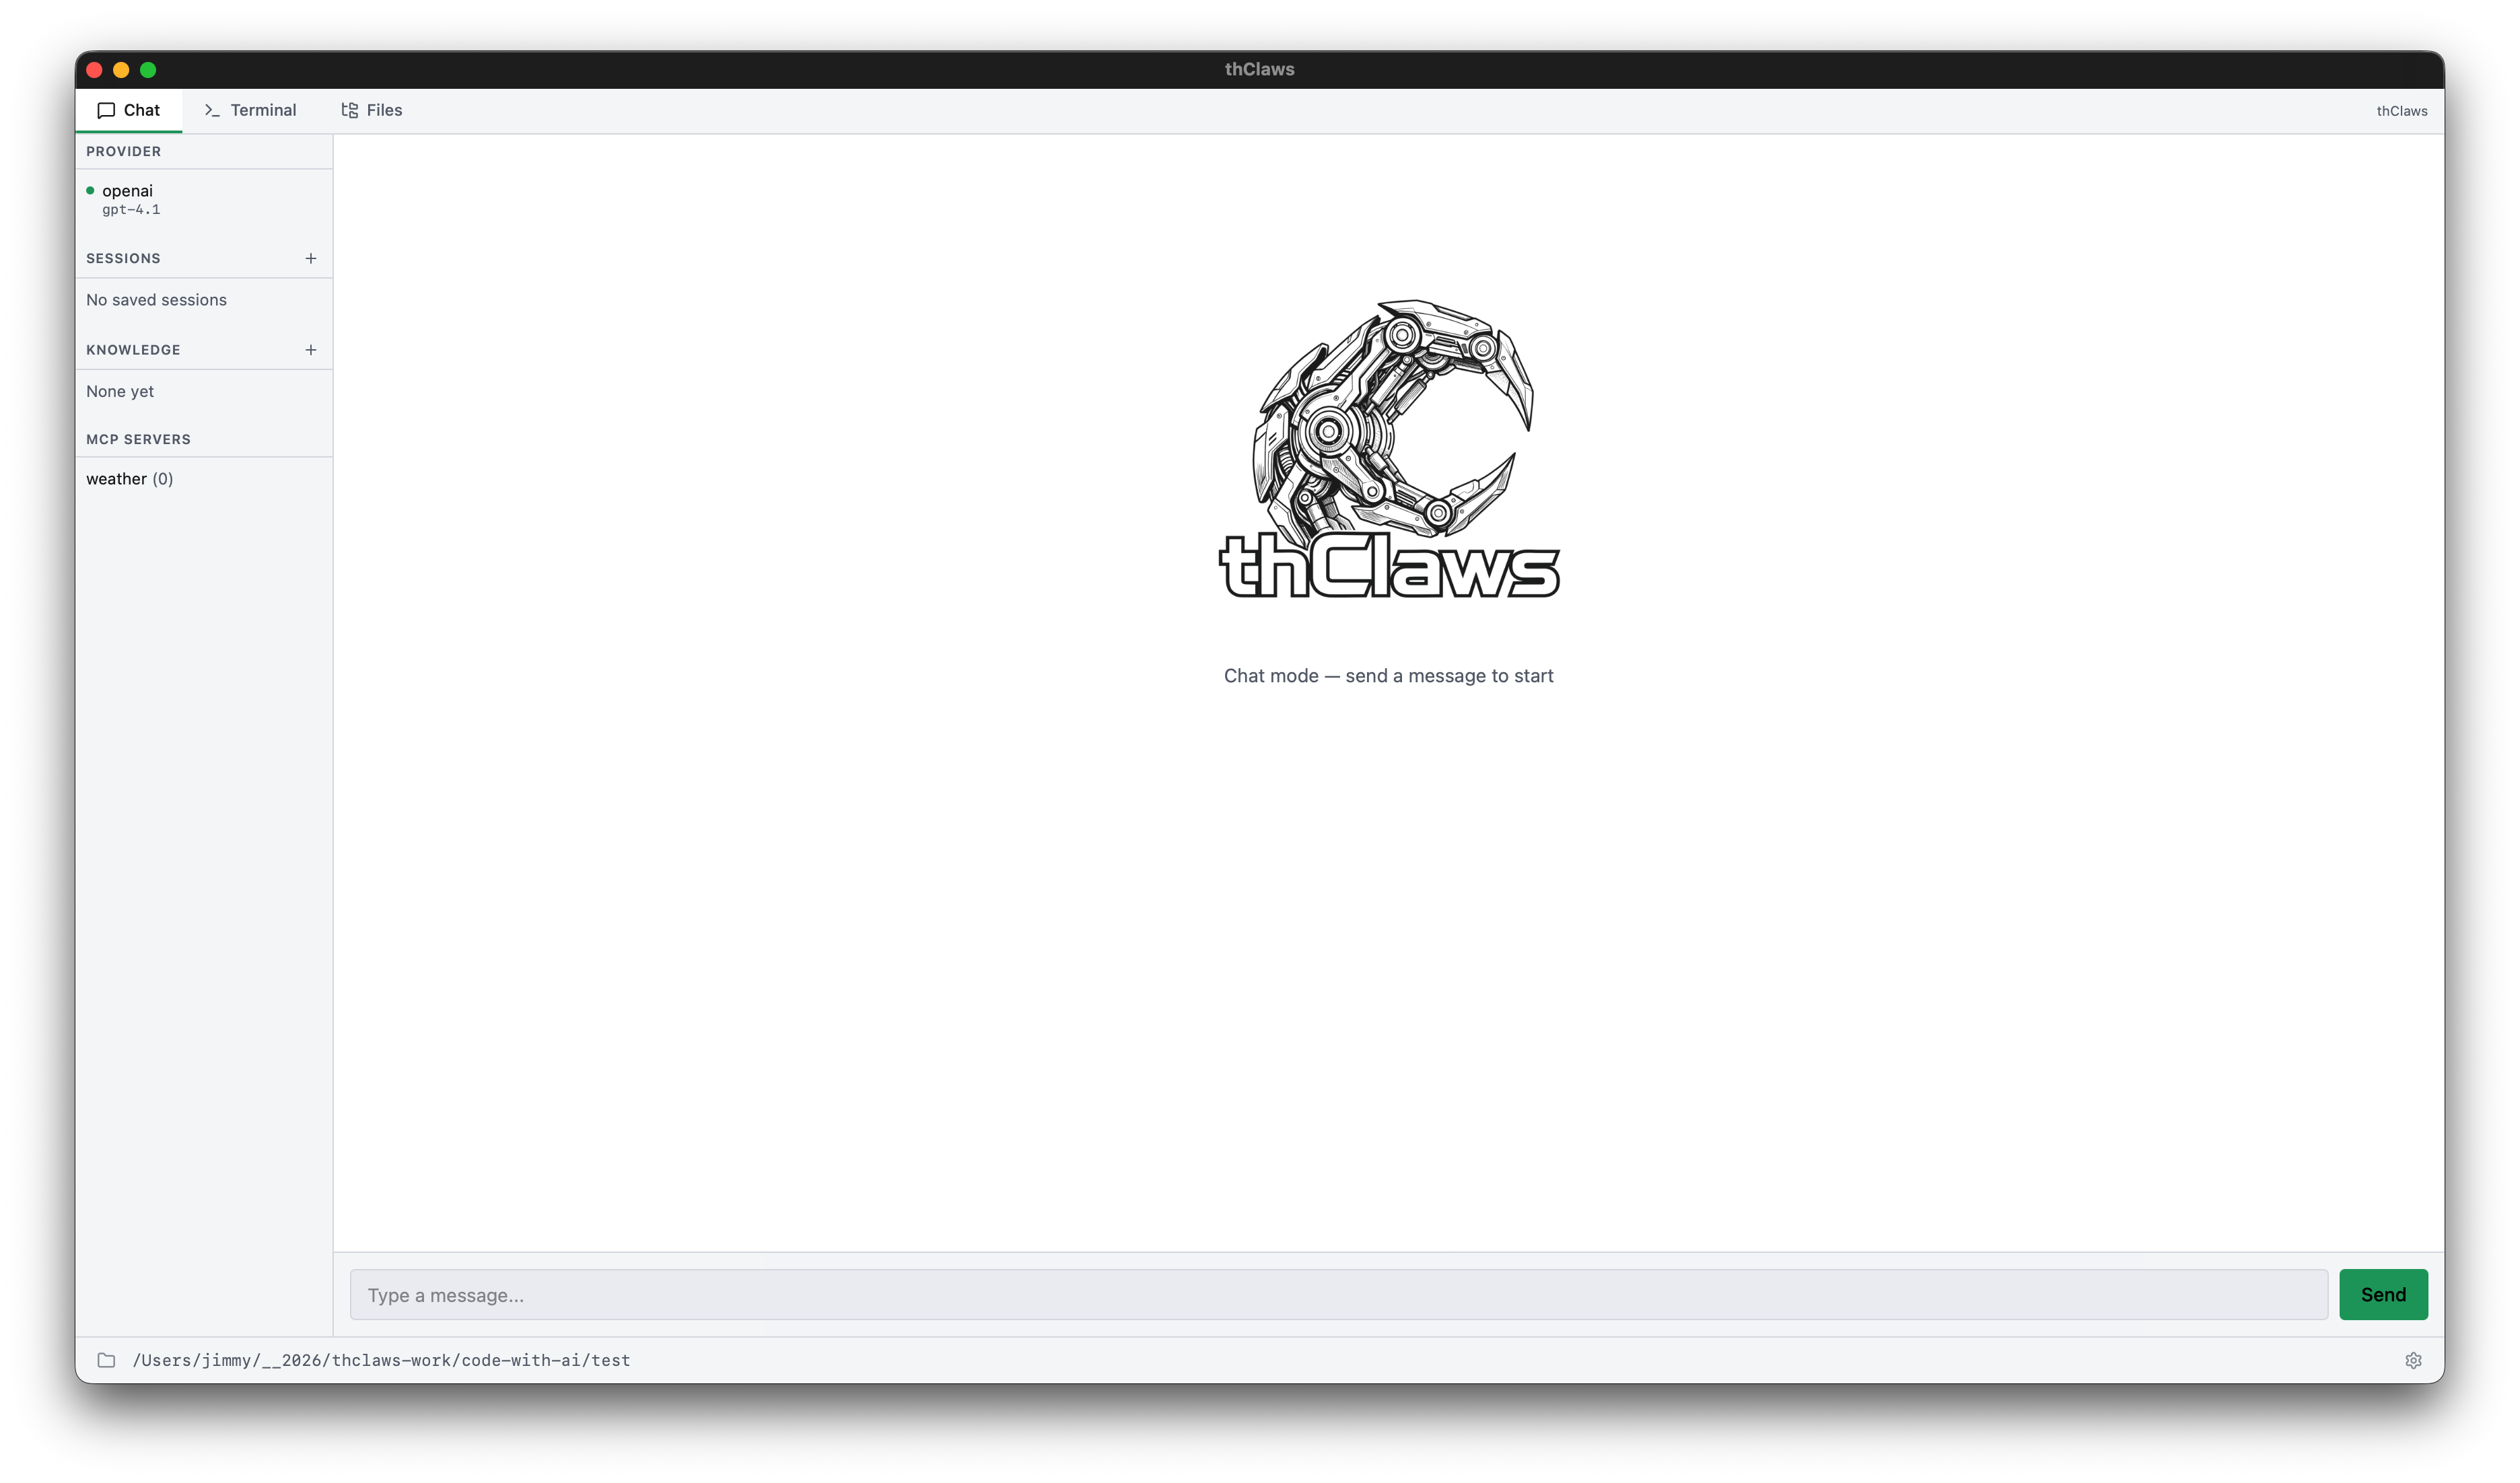
Desktop GUI (default)
thclaws
Opens the native desktop app — four tabs (Terminal, Chat, Files, Team), a sidebar with provider/sessions/knowledge/MCP sections, and a gear icon for Settings. Chapter 4 is the full tour with screenshots and keyboard shortcuts.
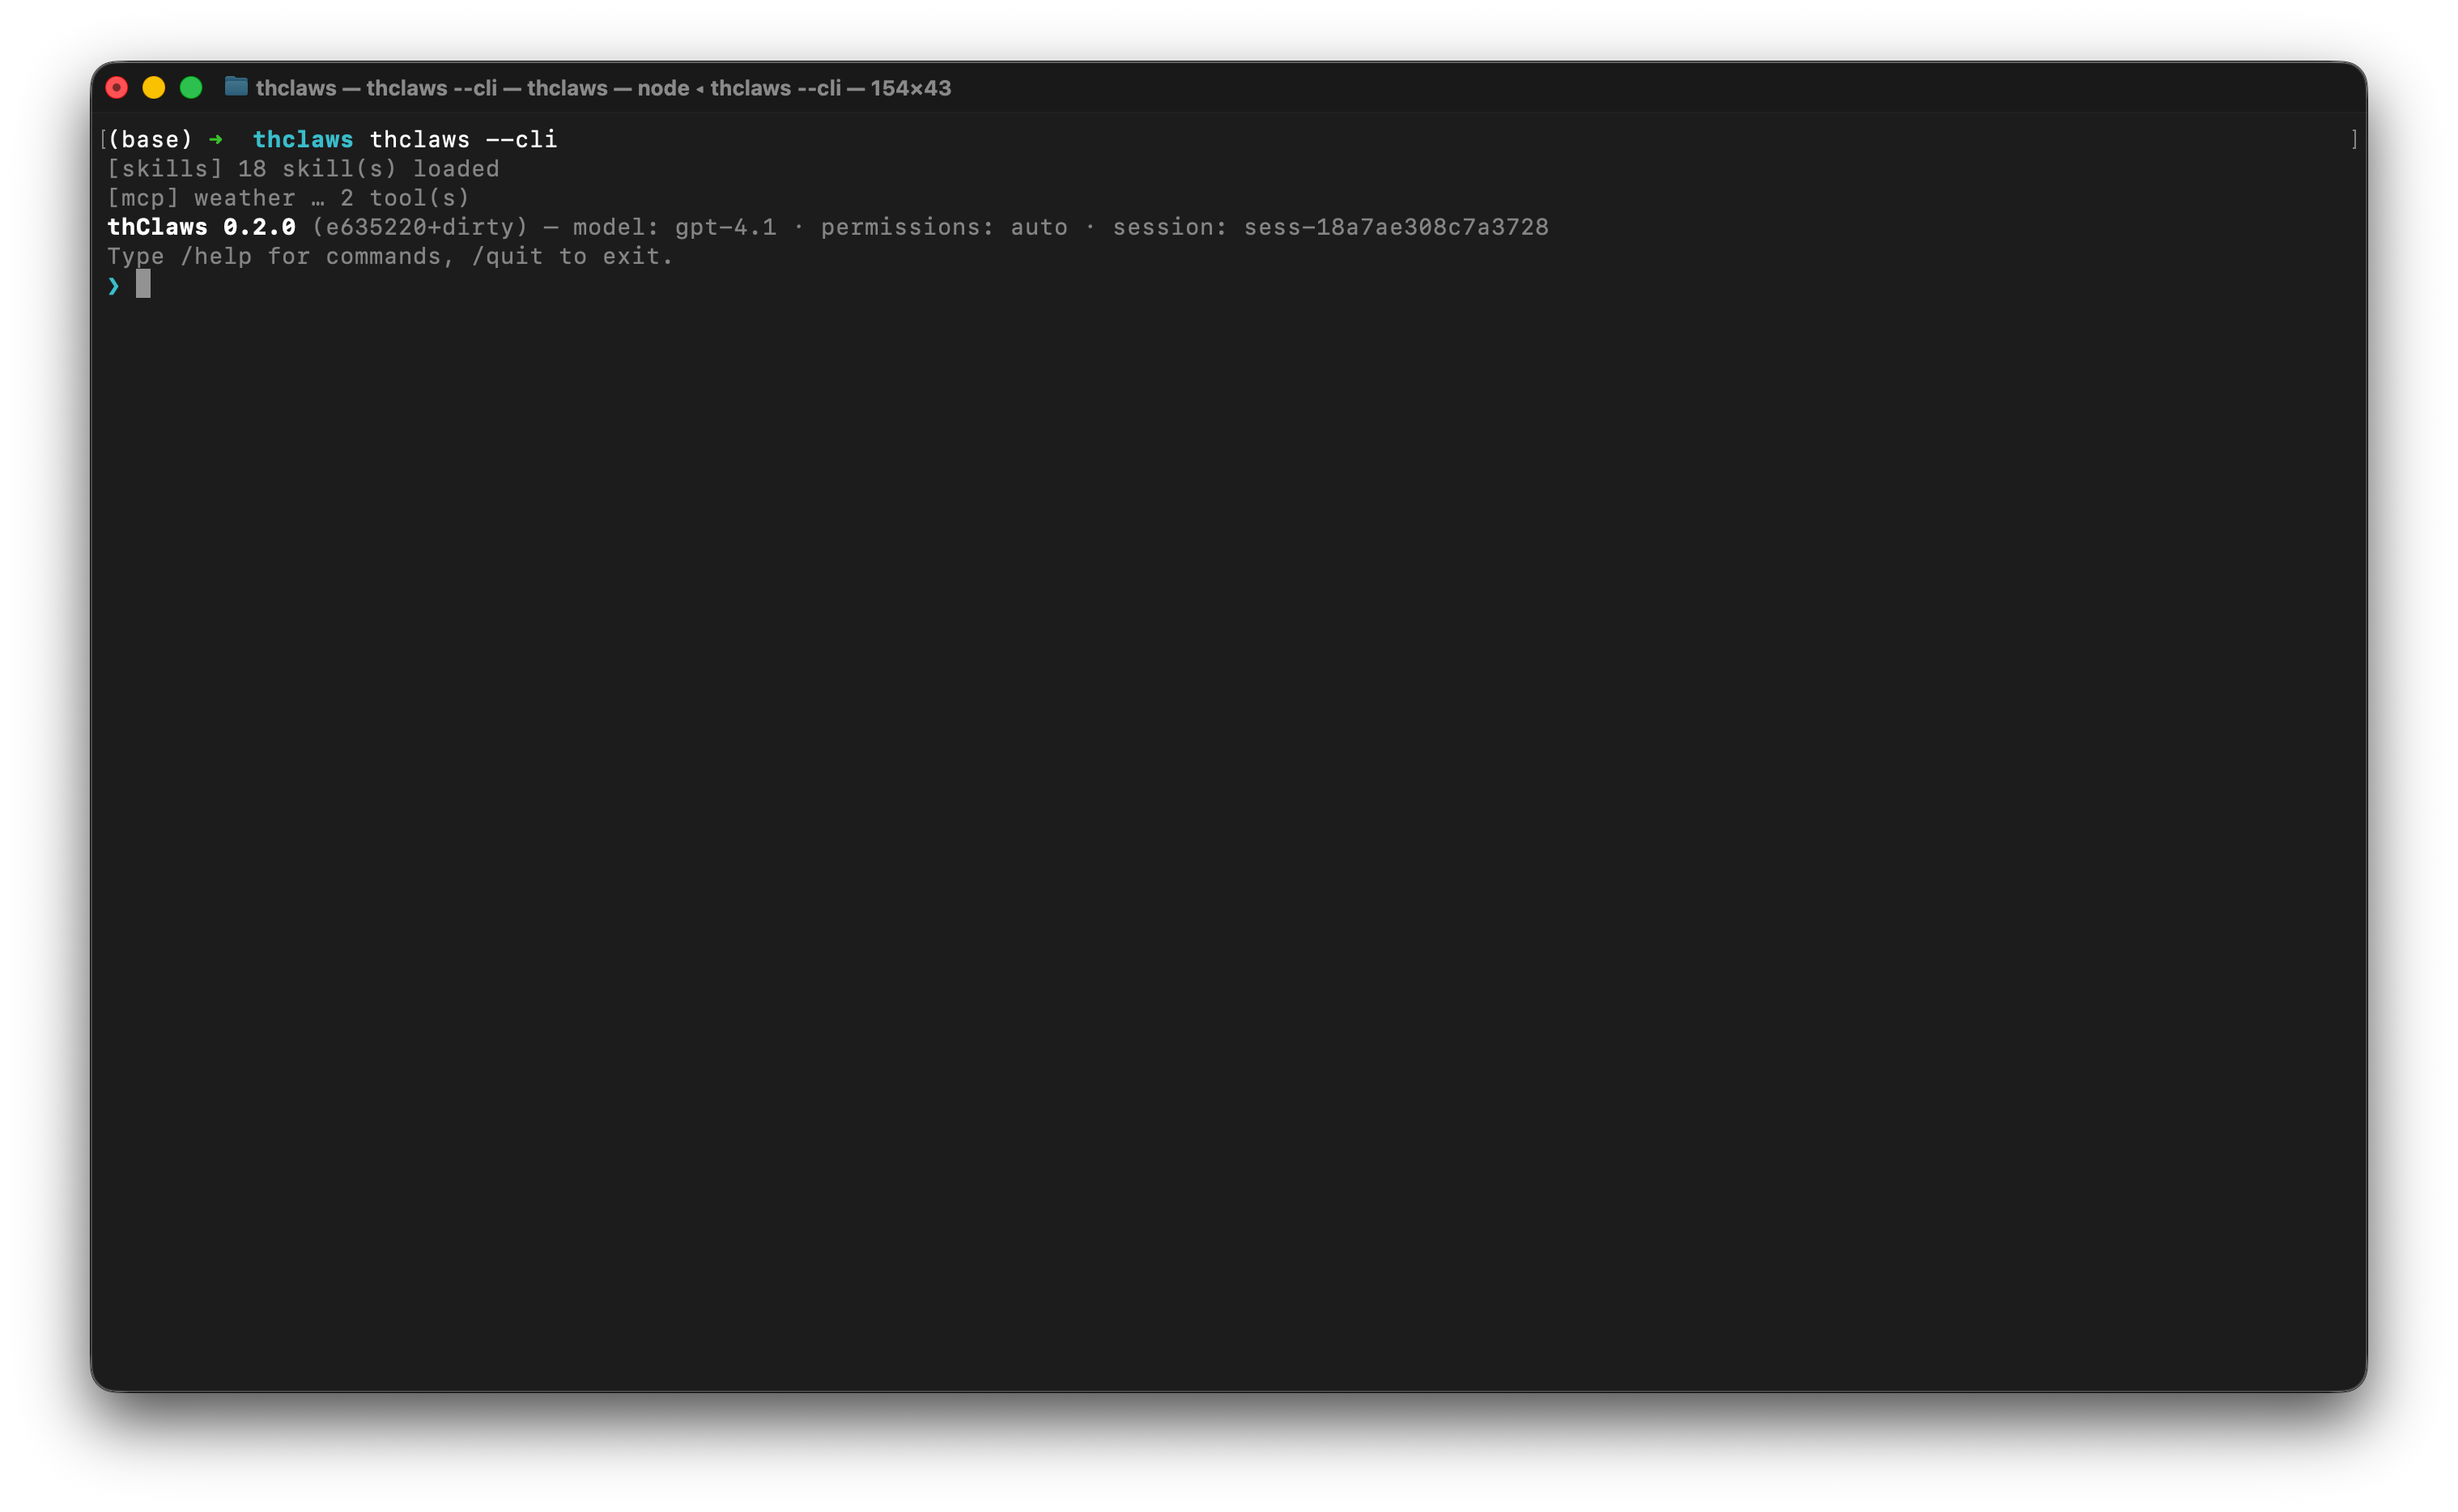
Interactive CLI
thclaws --cli
Same agent, just in a terminal. Every feature in this manual works here — it’s the backbone the GUI wraps.
Inside the REPL, lines you type fall into three buckets:
| Prefix | What happens |
|---|---|
/<name> [args] |
Slash command — built-in, or skill / legacy command (see Chapter 10) |
! <shell cmd> |
Shell escape — runs in your terminal directly, bypassing the agent entirely (no tokens, no approval) |
| anything else | Sent to the model as a user prompt |
The shell escape is handy for quick sanity checks while you work:
❯ ! git status
On branch main
nothing to commit, working tree clean
❯ ! ls src
main.rs  lib.rs  config.rs
❯ now add a new module `auth.rs` based on config.rs
[tool: Read: src/config.rs] ✓
...
Same prefix works in the Terminal tab of the desktop GUI.
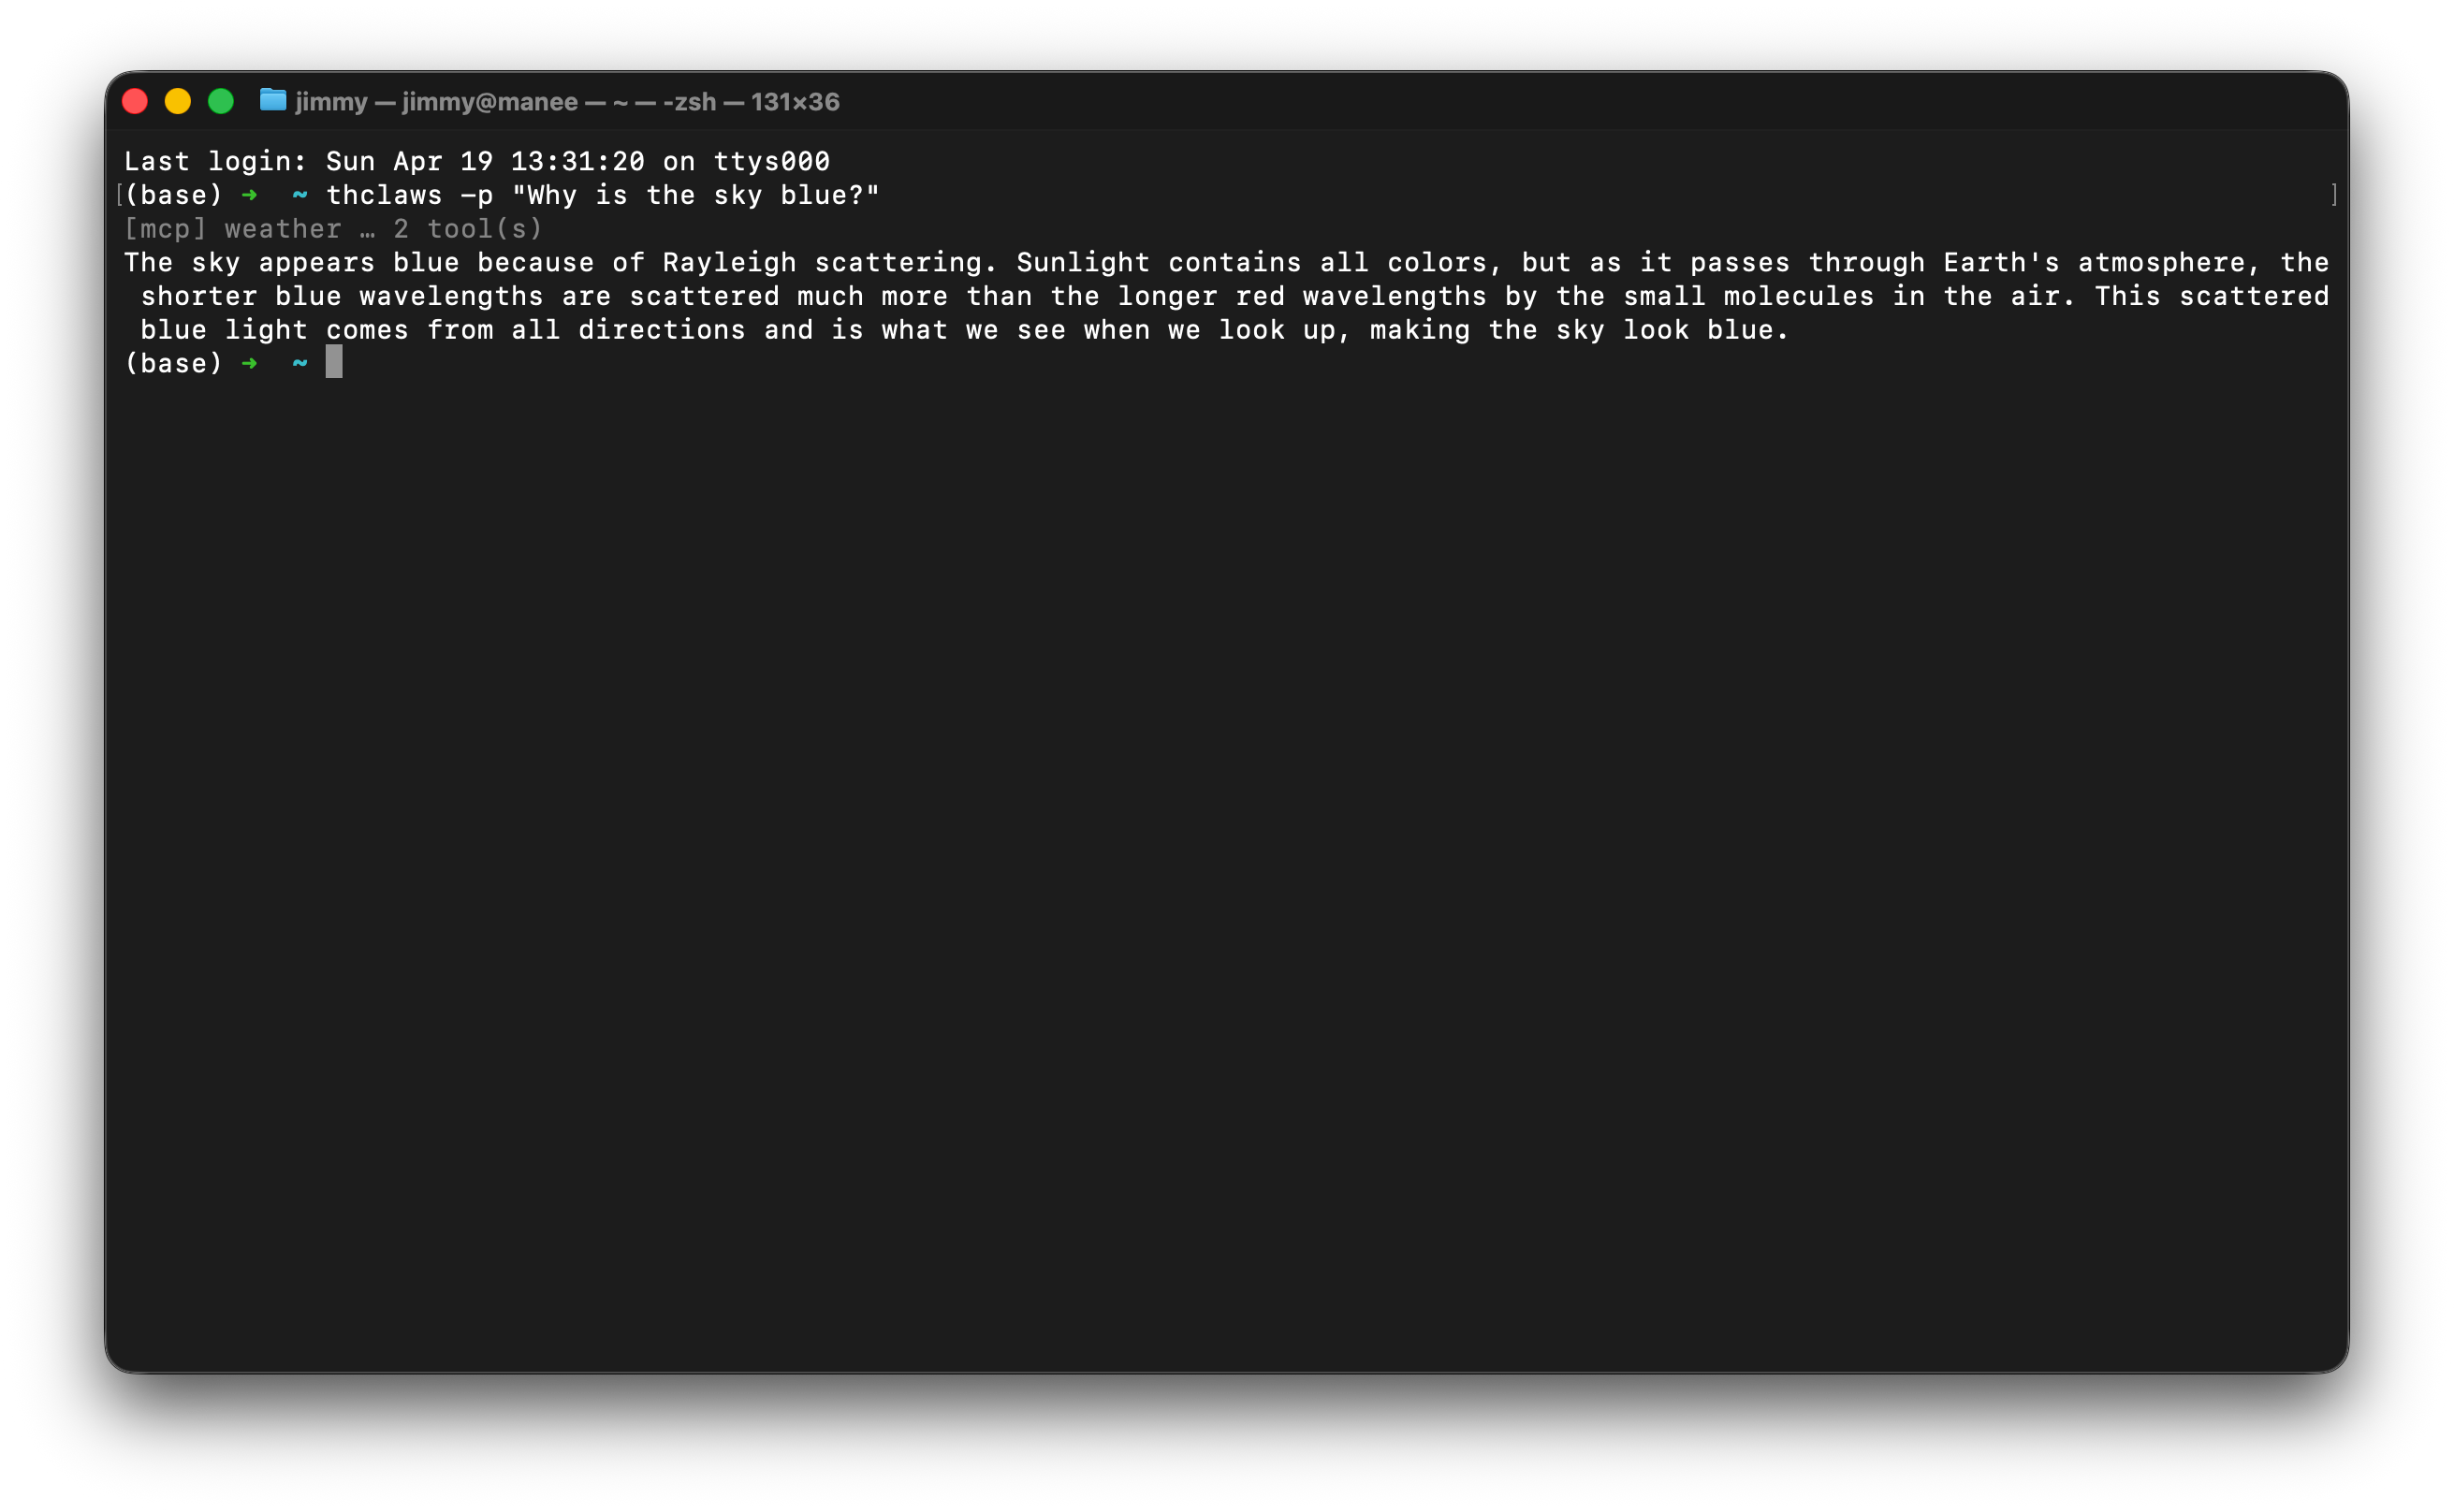
One-shot -p / --print
thclaws -p "What does src/main.rs do?"
thclaws --print "What does src/main.rs do?"    # equivalent long form
Runs a single turn, streams the answer, exits. Useful in CI, git hooks, or shell pipelines:
git diff | thclaws -p "summarise this diff for a commit message"
Since v0.88.0, -p is a full headless surface — the same
capabilities as the interactive CLI, one turn at a time:
- Sessions persist. Each run saves to the workspace session store
(
.thclaws/state/sessions/), and--resume <id|last>continues a previous conversation with full history:
bash
  thclaws -p "remember: the release codename is Falcon"
  thclaws -p --resume last "what's the release codename?"   # → Falcon
Pass --no-session to restore the old leave-no-trace behaviour for
quick scripted one-shots.
- Subagents work. The Task tool is registered, so prompts that fan
out (research pipelines, WorkflowRun scripts, multi-role work)
behave exactly like they do in the GUI/CLI instead of the model
role-playing every part in one context.
- Hooks fire — the same settings.json hooks as every other mode
(see Chapter 13).
Status lines ([session] saved …, tool traces) go to stderr;
stdout stays the clean answer, so pipes keep working.
The --resume chain is also what powers heartbeat schedules —
recurring jobs that keep one growing conversation instead of starting
amnesiac every fire. See Chapter 19.
--serve (HTTP/WebSocket server)
thclaws --serve                       # listen on 127.0.0.1:8443
thclaws --serve --port 7878           # custom port
thclaws --serve --bind 0.0.0.0        # bind all interfaces (auth required)
thclaws --serve --gui                 # plus open desktop window on same engine
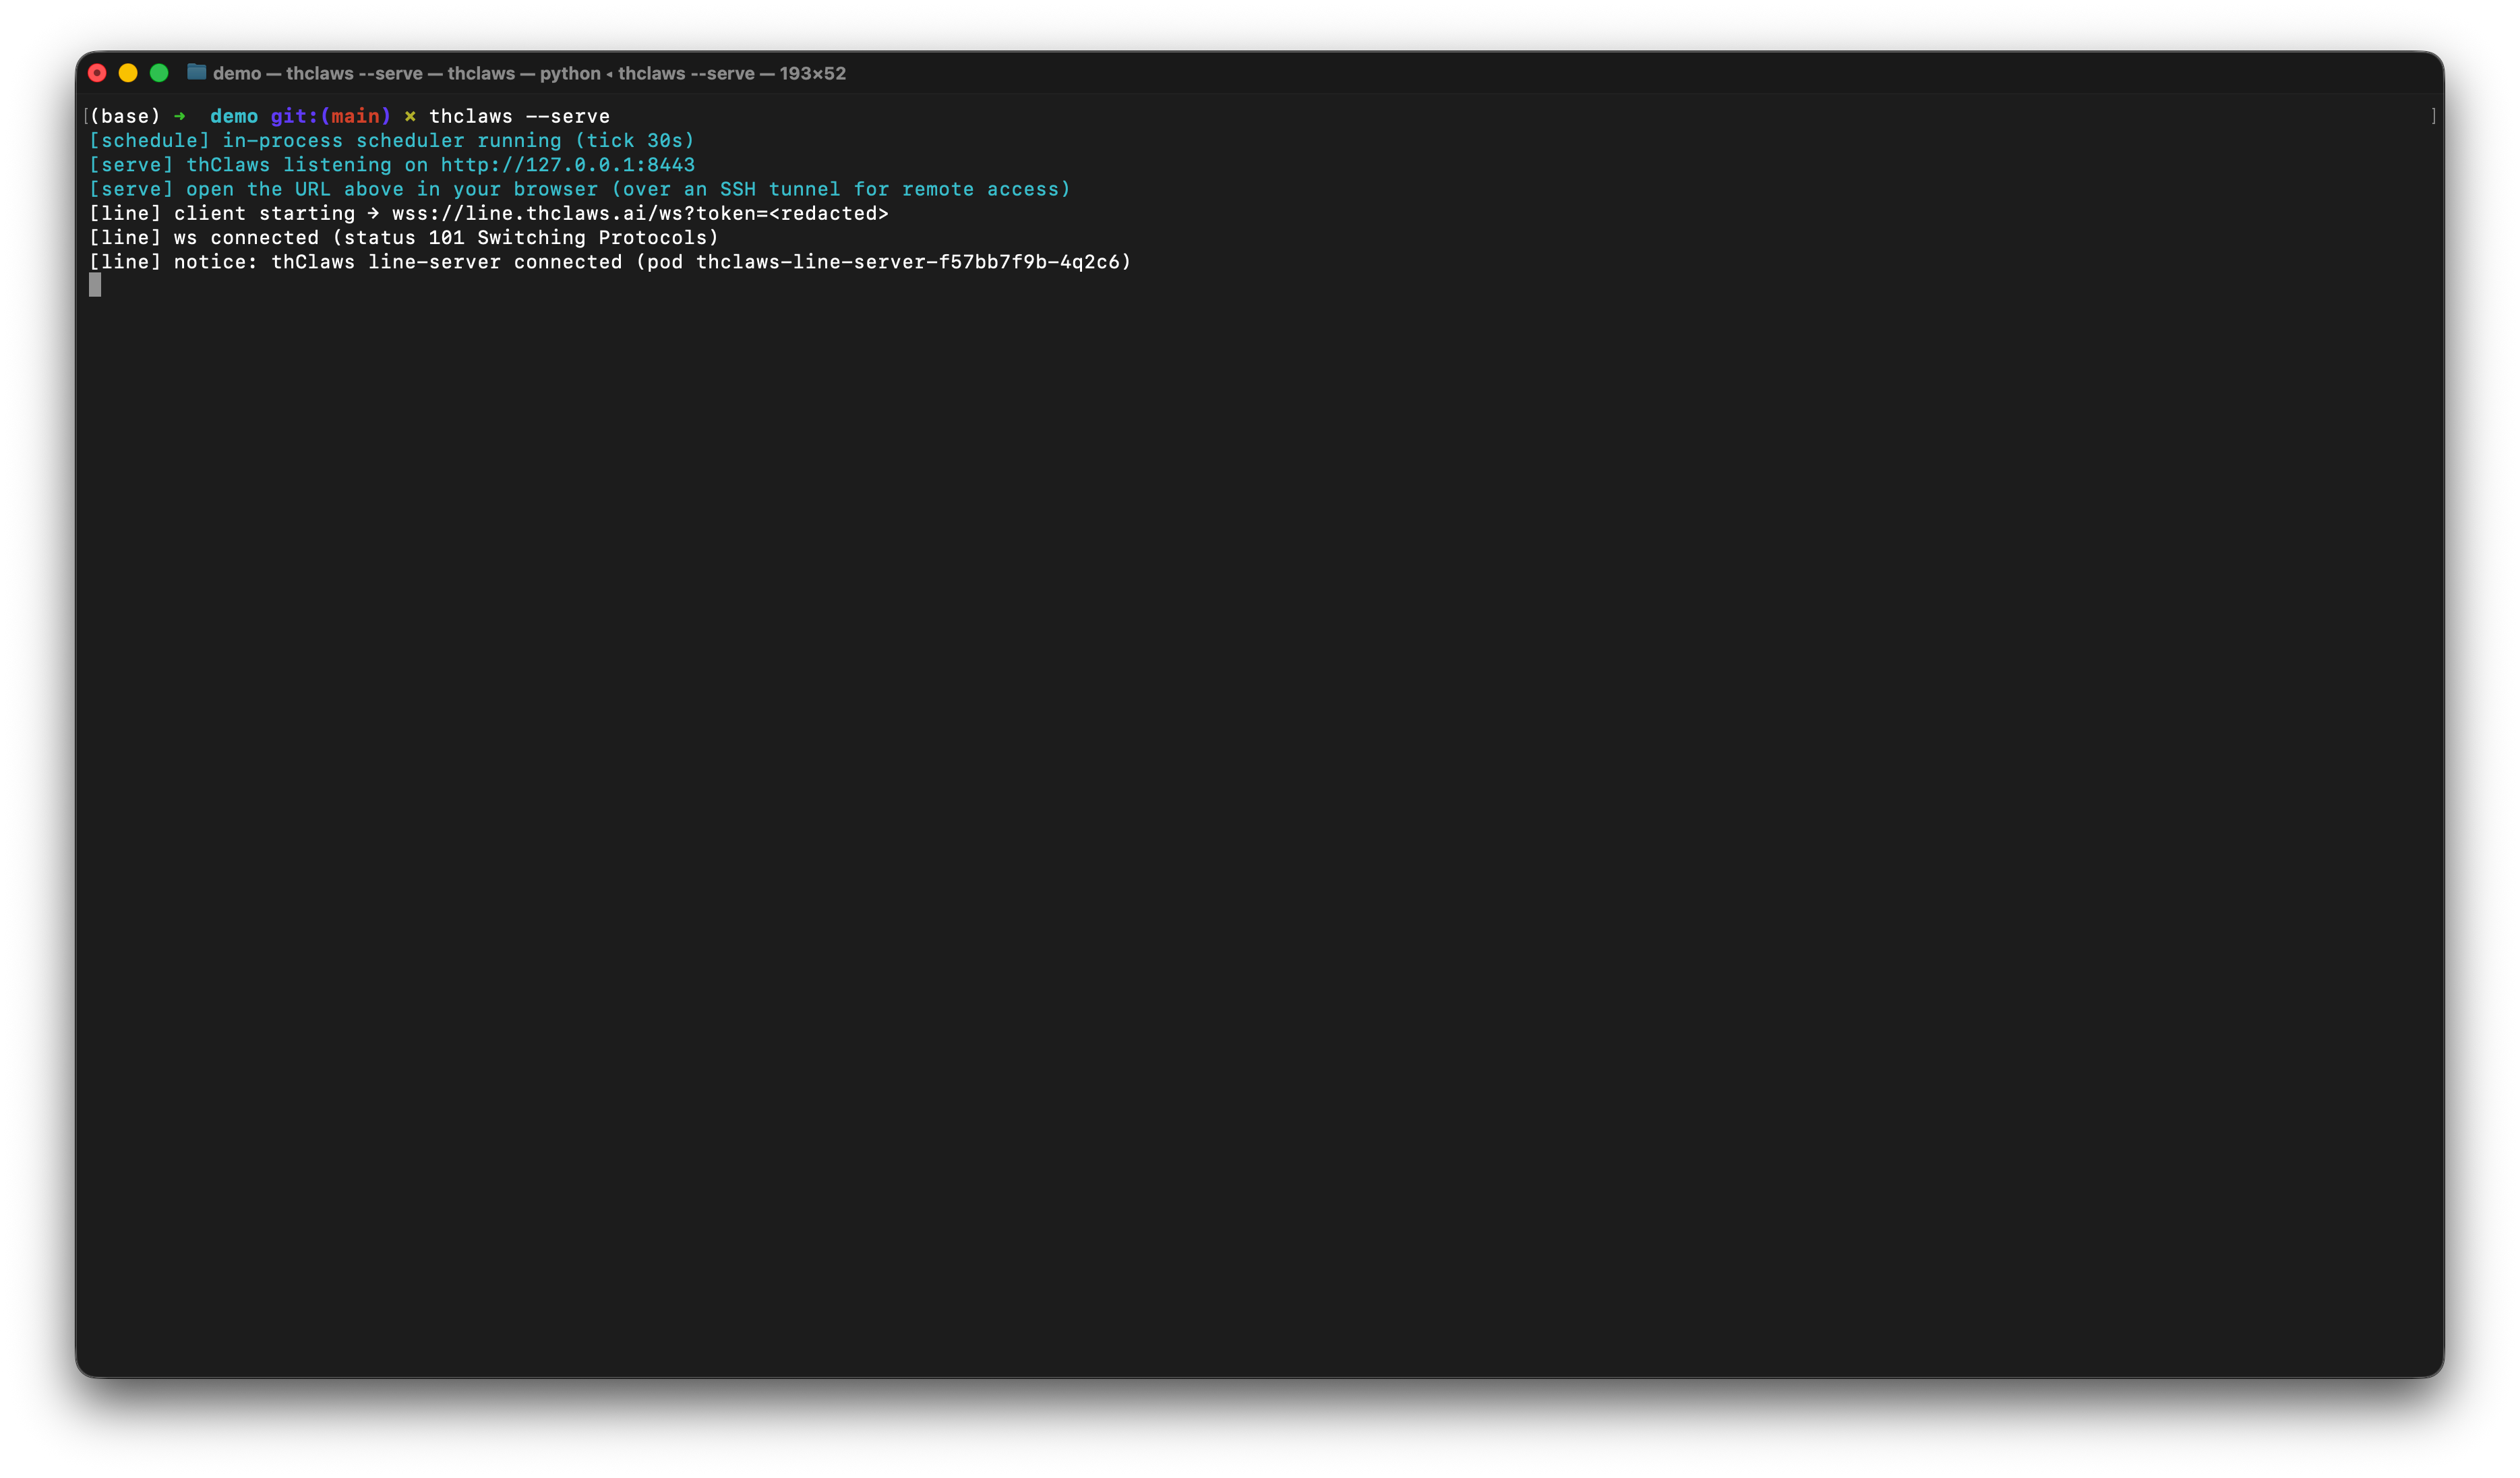
The same agent engine, exposed over HTTP + WebSocket — covers two use cases:
- Webapp surface — point a browser at
http://127.0.0.1:8443/for the same React frontend the desktop GUI runs. Right for remote access via an SSH tunnel or Cloudflare Tunnel (no need to open a public port). - AI Agent (API server) surface —
--servealso exposes/v1/chat/completions(OpenAI-compatible, so Cursor, Aider, n8n, openai-python can call it as-is) and/agent/run+/v1/agent/info(thClaws-native, for orchestrators like thcompany or Paperclip). One agent instance can serve humans and other software at the same time.
Default bind is 127.0.0.1 only (single-user, localhost loopback).
To expose to other machines use --bind 0.0.0.0 and set
THCLAWS_API_TOKEN in the environment — every request must then
carry Authorization: Bearer <token> or it gets a 401.
--serve is mutually exclusive with --cli and --print but
composes with --gui — the desktop window and any browser tab will
attach to the same Agent + Session (same conversation, two
surfaces). See Chapter 21 for the
LINE / browser bridge built on top of --serve.
Common flags
    --cli                    run the CLI REPL instead of the GUI
-p, --print                  non-interactive: run prompt and exit (implies --cli)
    --serve                  expose engine over HTTP/WebSocket (default bind 127.0.0.1:8443)
    --port N                 port for --serve mode (default 8443)
    --bind ADDR              bind address for --serve (default 127.0.0.1; 0.0.0.0 needs auth)
    --gui                    open desktop window (compose with --serve to attach to same engine)
-m, --model MODEL            override the model (e.g. claude-sonnet-4-6, moonshot/kimi-k2.6)
    --accept-all             auto-approve every tool call (dangerous — see ch5)
    --permission-mode MODE   auto | ask
    --max-iterations N       max agent loop iterations per turn (0 = unlimited, default 200)
    --resume ID              resume a saved session ("last" for most recent)
    --system-prompt TEXT     override the system prompt entirely
    --allowed-tools LIST     comma-separated tool allowlist
    --disallowed-tools LIST  comma-separated tool denylist
    --verbose                extra diagnostic output
Sessions
Every turn is auto-saved to ./.thclaws/sessions/<id>.jsonl. Sessions
are project-scoped — start thClaws in a fresh directory and you
get an empty session list.
See Chapter 7 for the full commands (/save,
/load, /rename, /sessions, --resume), on-disk format, and how
sessions interact with provider / model switches.
What lives under .thclaws/
The sandbox root also holds project-scoped config and runtime state:
.thclaws/
├── settings.json     project config (model, permissions, tool lists, kms.active)
├── mcp.json          project MCP servers
├── agents/           agent definitions (*.md)
├── skills/           installed skills
├── commands/         legacy prompt-template slash commands
├── plugins/          installed plugin bundles
├── plugins.json      plugin registry (project scope)
├── prompt/           prompt overrides
├── sessions/         session history — see Chapter 7
├── memory/           MEMORY.md + per-topic memory files — see Chapter 8
├── kms/              project-scope knowledge bases — see Chapter 9
├── rules/            extra *.md rules injected into the system prompt
├── AGENTS.md         project-level agent instructions
└── team/             Agent Teams runtime state — see Chapter 17
Check these into git to share with your team; add .thclaws/sessions/
and .thclaws/team/ to .gitignore since those are runtime state.
User-global equivalents live under ~/.config/thclaws/ (plus
~/.claude/ as a Claude Code fallback).
settings.json reference
All runtime toggles live in one JSON file. Load order (higher wins):
- CLI flag (highest)
.thclaws/settings.json— project, commit it with the repo~/.config/thclaws/settings.json— user-global~/.claude/settings.json— Claude Code fallback- Compiled-in defaults (lowest)
settings.json never holds API keys — those go in the OS keychain
or .env, picked at first launch (see above).
The first time you open thClaws in a project it bootstraps a
template file that lists every field at its default value. Open
.thclaws/settings.json and edit; delete a field or set it to
null to fall back to the default.
Model & turn control
| Key | Type | Default | See |
|---|---|---|---|
model |
string | "claude-sonnet-4-6" |
Chapter 6 |
maxTokens |
number | 32000 |
(max output tokens per turn) |
maxIterations |
number | 50 |
(per-turn tool-call loop cap) |
thinkingBudget |
number | 10000 |
Chapter 6 (Anthropic extended-thinking) |
searchEngine |
string | "auto" |
(auto / tavily / brave / serpapi / duckduckgo) |
Permissions & tools
| Key | Type | Default | See |
|---|---|---|---|
permissions |
"auto" / "ask" or {allow, deny} |
"auto" |
Chapter 5 |
allowedTools |
string[] | null |
Chapter 5 |
disallowedTools |
string[] | null |
Chapter 5 |
Knowledge bases & memory
| Key | Type | Default | See |
|---|---|---|---|
kms |
{active: string[]} |
{active: []} |
Chapter 9 |
autoLearn |
bool | false |
Chapter 9 §Self-improving |
autoLearnKms |
string | "self_learn" |
Chapter 9 §Self-improving |
autoLearnReconcileHours |
number | 6 |
Chapter 9 §Self-improving |
Plan mode, skills, subagents
| Key | Type | Default | See |
|---|---|---|---|
planContextStrategy |
"compact" / "clear" |
"compact" |
Chapter 18 |
skillsListingStrategy |
"full" / "names-only" / "discover-tool-only" |
"full" |
Chapter 12 |
extract_save_skill_models |
string / string[] | null |
Chapter 12 (override built-in skill model) |
translator_subagent_model |
string | null |
Chapter 15 |
Agent Teams
| Key | Type | Default | See |
|---|---|---|---|
teamEnabled |
bool | false |
Chapter 17 |
Provider routing
| Key | Type | Default | See |
|---|---|---|---|
openrouterFreeOnly |
bool | false |
Chapter 6 |
gatewayUseFor |
string[] | [] |
Chapter 6 (e.g. ["openai", "anthropic"]) |
GUI
| Key | Type | Default | See |
|---|---|---|---|
windowWidth |
number | null (monitor-aware) |
Chapter 4 |
windowHeight |
number | null (monitor-aware) |
Chapter 4 |
guiScale |
number | null (1.0) |
Chapter 4 (clamped 0.5–3.0) |
showRawResponse |
bool | false |
(debug: print the assistant’s raw text to stderr) |
Sibling files (not in settings.json)
Settings with larger or frequently-changing schemas live in their
own files rather than cluttering settings.json:
.thclaws/mcp.json— MCP server registry spawned at startup (same{"mcpServers": {...}}shape Claude Code uses) — see Chapter 14.thclaws/hooks/<event>.sh— shell scripts on lifecycle events (8 events:pre_tool_use,post_tool_use,session_start, etc.) — see Chapter 13.thclaws/AGENTS.mdorCLAUDE.md— project-level agent instructions injected into the system prompt — see Chapter 8- Project
.envor OS keychain — API keys (never insettings.json) — see Chapter 6
Example
{
  "model": "claude-sonnet-4-6",
  "permissions": "auto",
  "maxTokens": 32000,
  "maxIterations": 50,
  "thinkingBudget": 10000,
  "searchEngine": "auto",
  "planContextStrategy": "compact",
  "skillsListingStrategy": "full",
  "kms": { "active": ["project-notes"] },
  "autoLearn": true,
  "openrouterFreeOnly": false,
  "gatewayUseFor": [],
  "teamEnabled": false,
  "windowWidth": null,
  "windowHeight": null,
  "guiScale": null
}